5 Easy Steps for Model Rocketry Beginners
If you're interested in trying your hand at model rocketry, Estes Rockets is a great place to start. With a wide range of starter kits and supplies, getting started with model rocketry is easier than ever. In this beginner's guide, we'll walk you through 5 easy steps to launch your first Estes rocket.
Step 1: Research and Purchase an Estes Starter Set
Before you start building rockets, it's important to research and choose the right starter kit for your needs. Estes Rockets offers a range of starter kits that come with all the necessary components, such as the rocket, launch pad, and controller.
Some popular starter kits include:
|

Rocket Science STEM Kit
Take science to new heights with the Estes Rocket Science STEM Kit. Build and launch a real rocket that can soar up to 1,100 feet, then watch it float back to earth with a bright parachute for repeat flights.
|
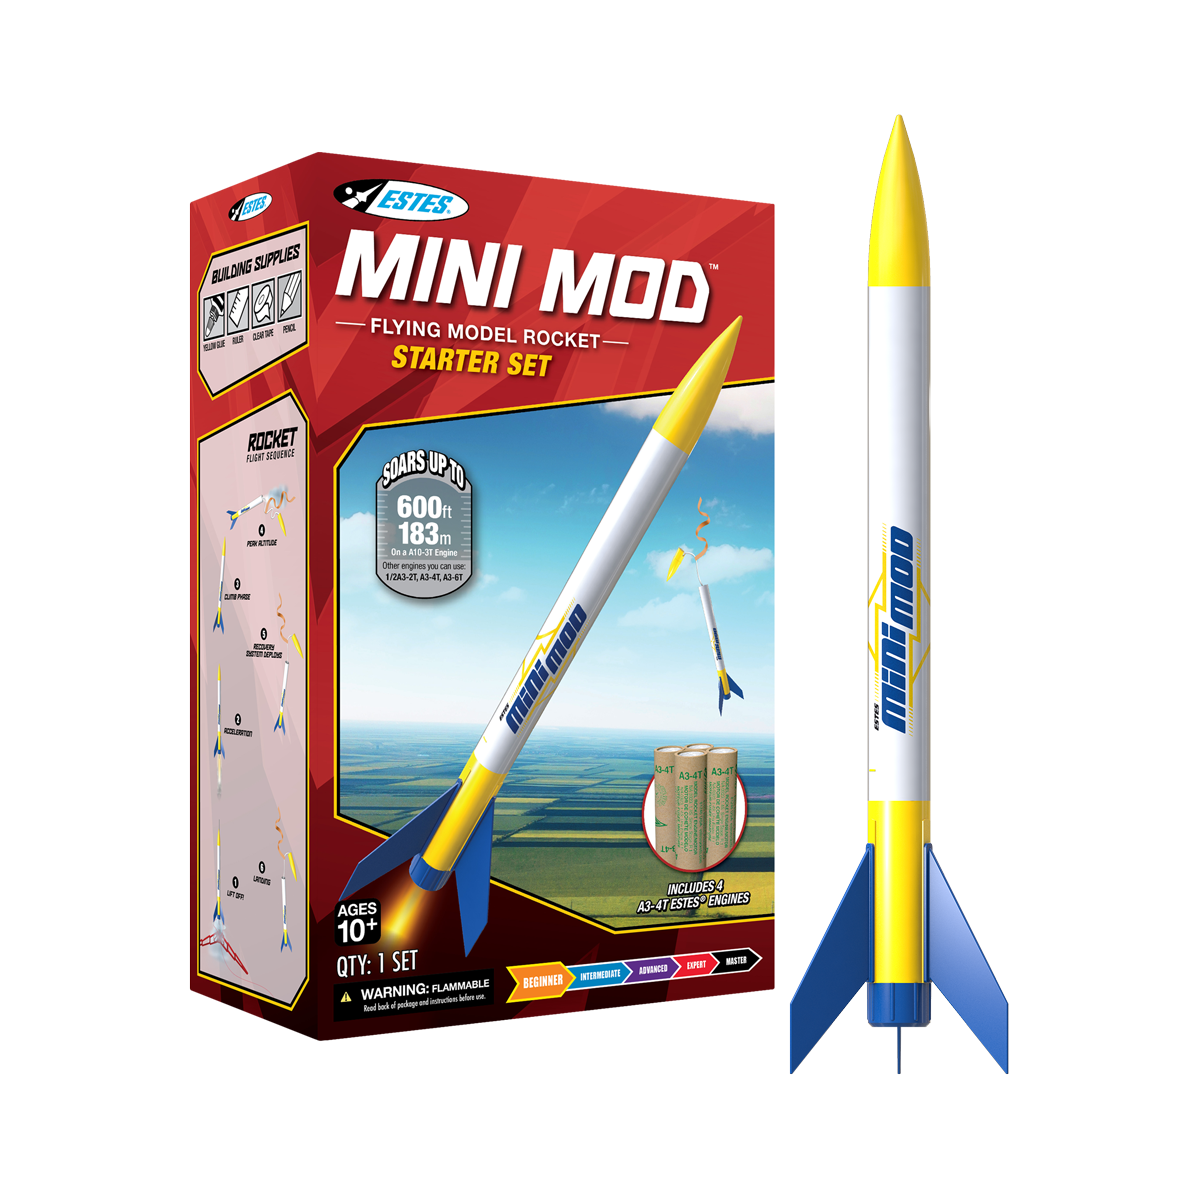
Mini Mod™ Starter Set
The Mini Mod™ Starter Set has everything you need to launch into the hobby, rocket, launch pad, controller, and enough engines and supplies for four flights. Just add glue and batteries.
|
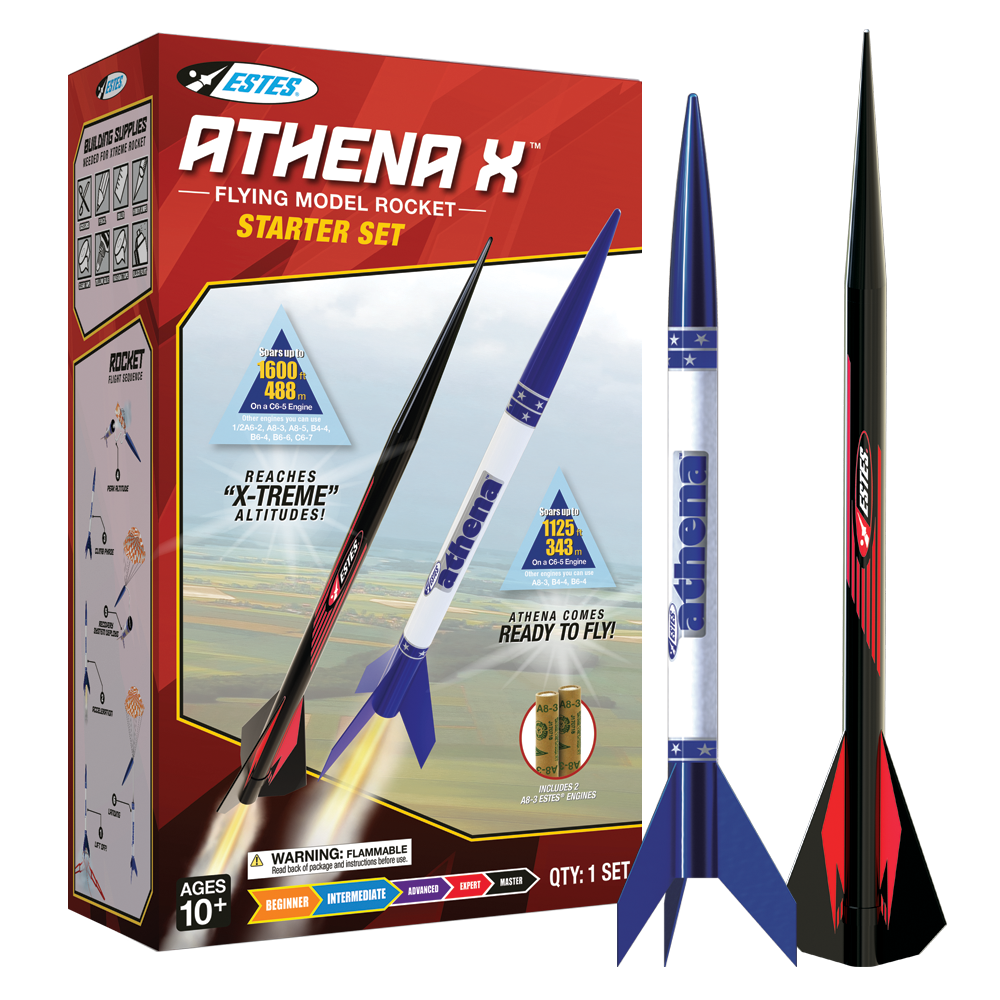
Athena X™ Starter Set
One of the timeless ready to fly rockets from Estes, the Athena model rocket kit is one of the coolest model rockets. It comes fully assembled, which means you get to the flying field quickly. So grab a friend and get ready to have some fun.
|
Step 2: Assemble Your Estes Rocket
Once you have your Estes starter set, it's time to start building your rocket. Follow the instructions carefully, and take your time to ensure that all the components are assembled correctly. Doing so will help ensure a successful launch.
Step 3: Choose a Safe Launch Site for Your Rocket
Once your rocket is assembled, it’s time to find a safe area to launch your Estes rocket.
Some basic guidelines are:
- Make sure you are away from any dry grass or debris
- Make sure your field size is large enough for your engine
- Stand 15 feet away from the rocket when launching
- Make sure everyone is outside of the flying field
If you need help determining where to launch, check out the National Association of Rocketry's list of certified launch sites here.
Step 4: Prepare Your Rocket
Before you launch your rocket:
- Make sure all the components are securely in place
- Set up the launch pad and controller according to the instructions
- Check the weather conditions and avoid launching in high winds or stormy weather
Proper preparation of your Estes rocket will ensure a safe and successful launch.
Step 5: Launch Your Rocket
Finally, it's time to launch your Estes rocket. Follow the instructions on the controller carefully, and make sure everyone is a safe distance away. When you're ready, press the launch button and watch your rocket soar into the sky. Estes Rockets starter sets come with all necessary recovery supplies to help bring your rocket safely back to earth.
And there you have it. Getting started with Estes Rockets and model rocketry is a fun and rewarding hobby. With a starter kit and a little bit of patience, you can launch your first Estes rocket and experience the thrill of the launch. We hope this beginner's guide has helped you get started, and we wish you happy flying.


2 comments